Smartname Review Part II – Customizing Smartshops
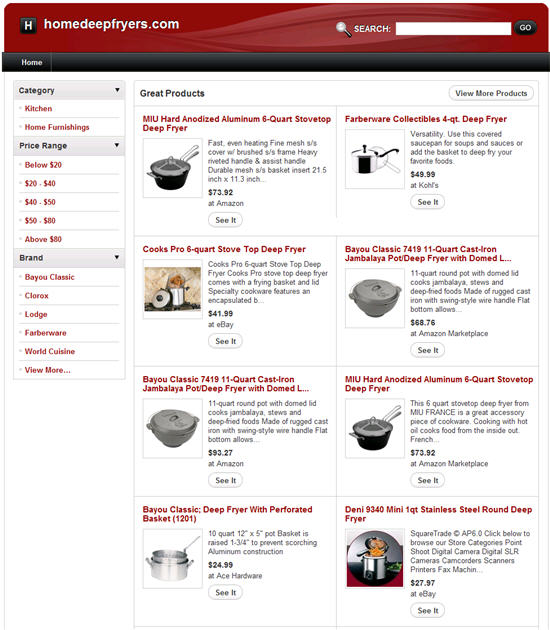
In yesterday’s post, I discussed my recent experience using SmartName’s SmartShops to create free e-commerce minisites and gave an example of a minisite I created in less than five minutes, HomeDeepFryers.com.
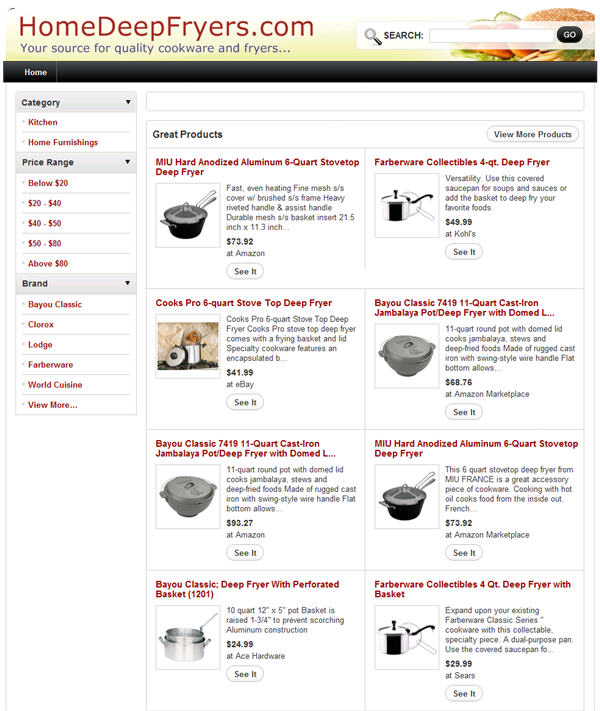
Today I spent a few more minutes and improved the look of the site by adding a custom graphic header. Here’s how…
1. Creating the header. I’m good at a lot of things, but unfortunately graphic design isn’t one of them. Although I own Photoshop, I used a much simpler program called XHeaderPro to create the header. This program is specifically designed to create headers and comes with thousands of sample templates. I couldn’t find one specifically for Home Fryers, but choose one with a picture of fried food and added the domain and a slogan…

2. Matching the header size with SmartName’s e-commerce template.
After a bit of trial and error, I determined that 1000 x 95 pixels worked best for me. I saved the header in .jpg format and selected a medium compression setting that would look good but still load quickly.
3. I then logged into my SmartName account and edited the Header & Footer section of my HomeDeepFryers.com e-commerce site.


Here’s the updated site with the new header…
Summary
It took about ten minutes to create and upload the header, but I think the time was worth it. From a visitor standpoint, people are more likely to browse and shop from a ‘real’ site than a parked page and custom graphics do a lot to establish confidence and trust in a site.
In my next post in this series, I’ll look at adding custom tabs to my Smartshops site to improve the user experience and attract additional search engine traffic.
Related post: Smartname Review Pt. 1: Using Smartshops to Create Free Minisites
